Warning: YOU CAN BLOW UP YOUR GARMIN IF YOU DON’T FOLLOW THESE RULES. Be extremely careful during installation. StrikeLines is not responsible for any damage to electronics on your boat. This aftermarket accessory is installed at your own risk.
Three Rules:
1. THE LAST THING YOU SHOULD DO DURING INSTALLATION IS PLUG THE TWO CABLES INTO YOUR GARMIN.
DO NOT PLUG ANY CABLES INTO YOUR GARMIN UNTIL YOU HAVE COMPLETED EVERY OTHER INSTALLATION STEP.
NEVER DISCONNECT ANY CABLES FROM THE STRIKELINES BOX WHILE THEY ARE STILL CONNECTED TO YOUR GARMIN.
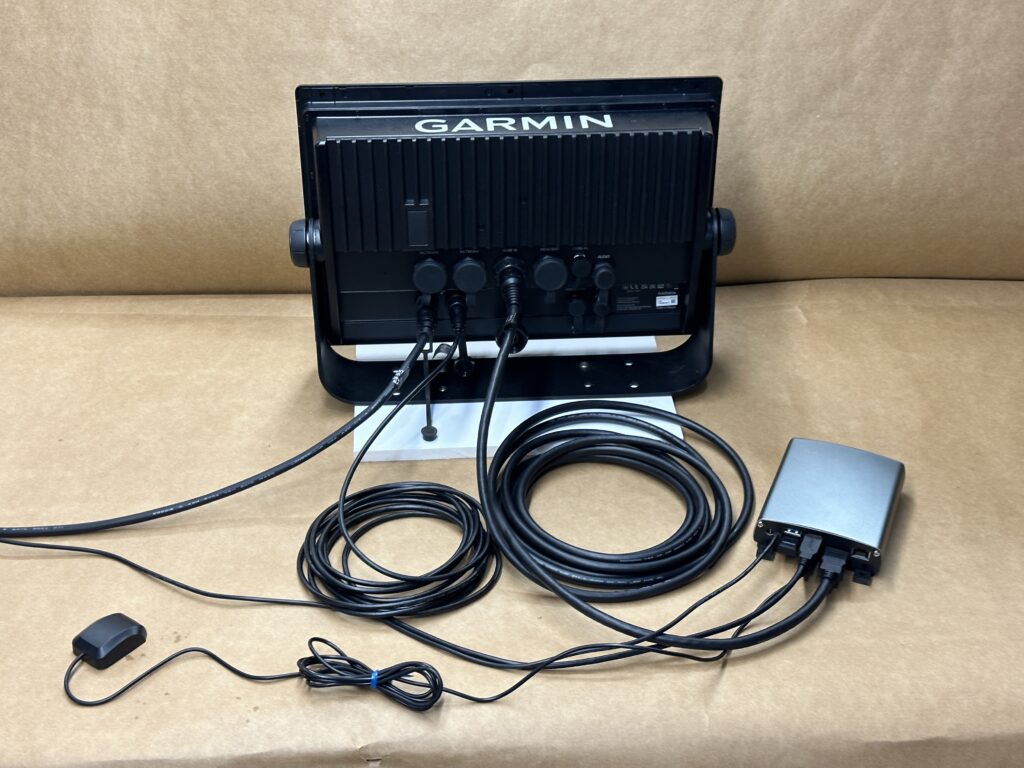
GPS PuckGarmin USB CableGarmin HDMI CableGarmin connectionsBox connections
Installation steps:
Mount the StrikeLines Box in a dry location where it is protected from water and the elements. The box and its cables are not waterproof and damage will result from any exposure to water. If you don’t mount the box securely, you can blow up your Garmin.
Mount the GPS puck in a dry protected location using mounting tape. Do not mount the antenna on the roof. It works just fine inside the console or near a window.
Connect the power cable with fuse to a 12 volt power source on your boat. Never connect the box without a fuse. You can blow up your Garmin if you bypass the 5 amp fuse.
Insert the WiFi USB dongle into any USB port on the StrikeLines Box.
Connect the GPS cable, power cable, HDMI cable and USB cable to the StrikeLines box. Route the cables cleanly and use zip ties to secure the cables to existing wire runs. Coil any excess cable neatly and secure it with zip ties.
Carefully double check all connections. Especially the red and black power cables.
Connect the USB cable and HDMI cable to the back of your Garmin GPS.
View StrikeLines Box on Garmin.
Power on your Garmin GPS and the StrikeLines Box.
On your Garmin, tap Home –> Vessel –> Video.
Select HDMI Source (usually “Main Display”)
StrikeLines OS appears.
To go full screen, tap Options –> Video Setup –> Full Screen
To download and use StrikeLines Charts, tap the AquaMap app.
To exit full screen, tap the power button on your Garmin repeatedly.